
To change the picture darkness on the Zebra GX430T printer follow these instructions:
1. Connect the Zebra printer to your PC with a USB cable and open the Zebra Setup Utilities application. If we haven't already installed it, we can download it via this link: Zebra Setup Utilities.
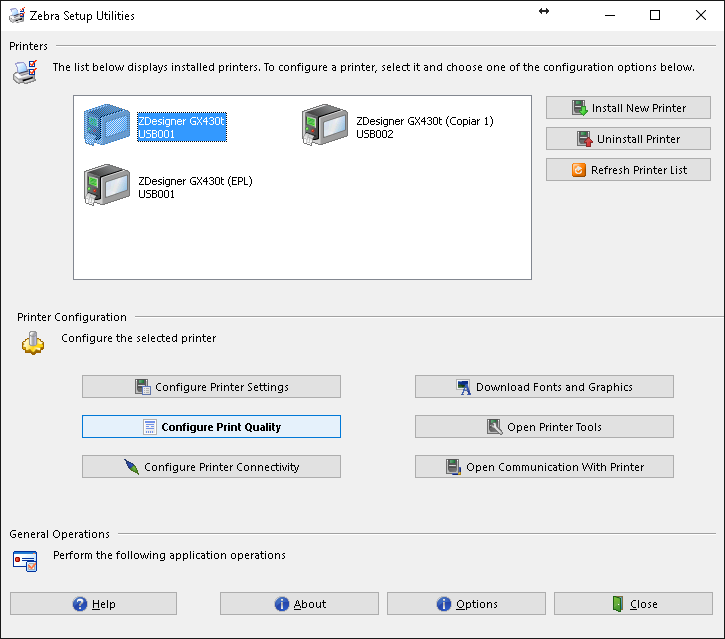
2. Once installed, open the application and press the button Configure Print Quality.
3. In the print quality configuration of the printer select the Manual option and click on Next.

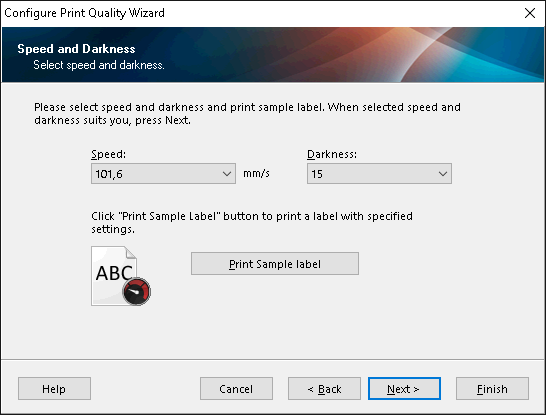
4. On the speed and darkness configuration screen, change the settings according to your needs. Bear in mind that the larger the value in the Darkness section, the darker the image will be. We recommend using values which vary between 12 and 18 to get the best results from the printer.
5. Once all the changes have been carried out, turn the printer off and on again in order to save the changes.
Comments
0 comments
Article is closed for comments.