
To change the IP of the Zebra GX430T printer follow the steps indicated below:
1. Install the Zebra Setup Utilities application.
For the configuration of the printing equipment, it is necessary to install the Zebra Setup Utilities application. This application allows you to set the necessary parameters of the printer, both network and ticket size. You can download the application for installation from this link: Zebra Setup Utilities.
Once you have made the download, perform the installation following the steps indicated by the program.
2. Once you have installed the Zebra Setup Utilities application, connect the Zebra GX430T printer to your computer with the USB cable and open the Zebra Setup Utilities application.
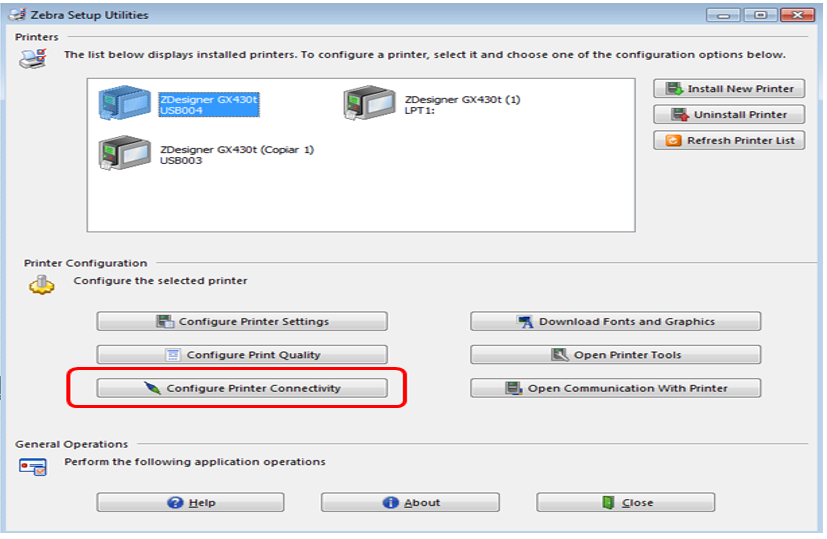
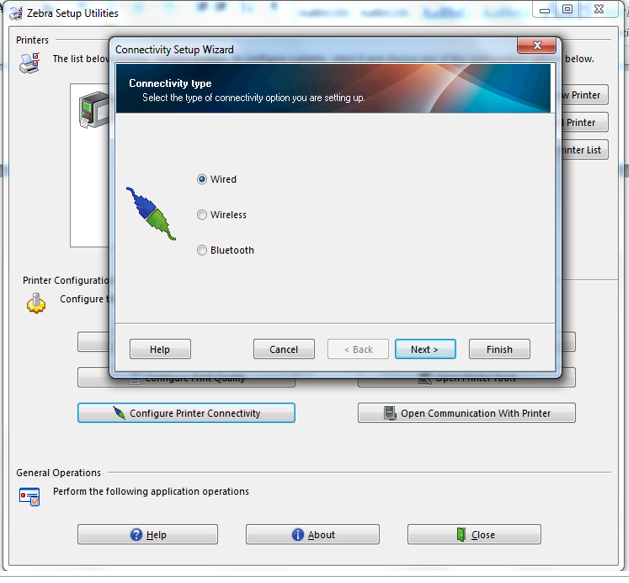
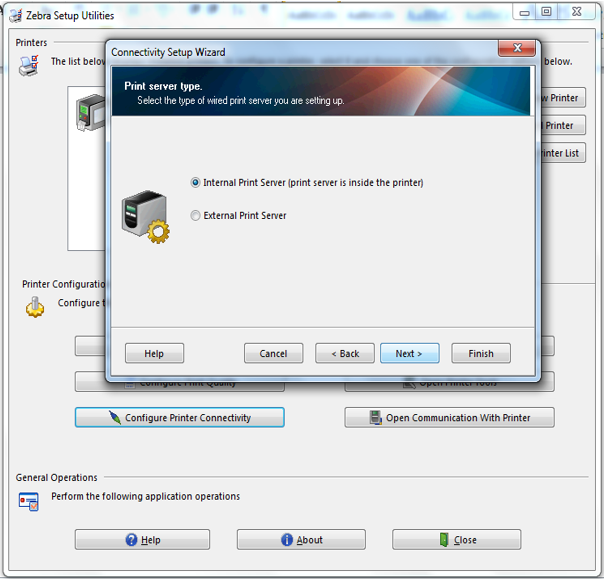
3. Configure the parameters following the step-by-step that appears in the images.
- We will mark the option of Printer conectivity as it appears in the image and we are following the steps
- Then we must mark that we have a Static address as it appears in the image.
The IP address that we will use will be a free IP address of our network and of the same rank as the one of the equipment that will be used. It is possible that at this point the assistance of a technical department may be needed.
Once the fields are filled in, we can click on the Finish button, since the configuration will be finished.
- Once the configurations have been made, we will proceed to turn off the printer.
Doing so, the changes are applied and afterwards, we will disconnect the USB cable to put the RED cable that will be used.
To verify that the printer configuration is correct, we can press the front button and leave it pressed until the upper LED blinks, then we will stop pressing the button and the printer will proceed to print a sheet where the parameters will appear.
We will verify with this sheet if the parameters of IP address and ticket limits are correctly configured.
4. When the values have been modified, the printer must be turned off and on once again.
Comments
0 comments
Article is closed for comments.